
Advanced Effect Maker - Tutorial : Making an applet with ImageFader
In this tutorial, we will show you how to use the applet ImageFader.
When you first start the program, you will see a list of categories. Please select the ImageFader Flash effect from the applet menu:
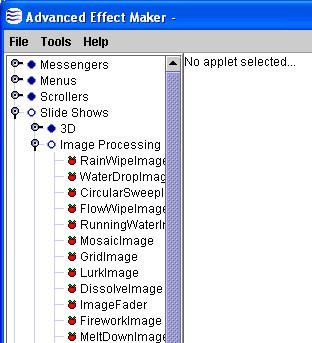
Select the effect ImageFader from the applet menu
A configuration dialog will appear, which we from now on in this tutorial we will call it the VAC Dialog. It will look like this:
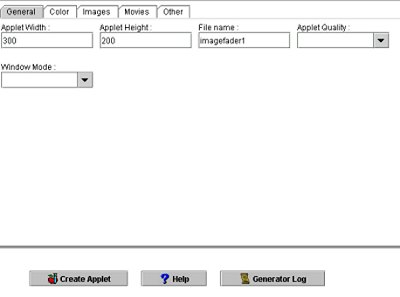
First we will start by selecting a work folder. You can either use the default work folder which is at your installation directory under "projects". Or you can select the "Save As" option in the File menu to select another work location. Some images have been automatically copied into your folder (beach0.jpg-beach3.jpg) when you selected the ImageFader applet. These default images are there to give you a working result when you click on the "create applet" button.
Now start by setting the size of the Flash applet in the VAC Dialog. You can either keep the 300x200 pixel size or change it to whatever you want. But don't let it become too large though, this applet is very processor intensive. Let the file name be as it is and click on the "Color" tab. You will see the following dialog:
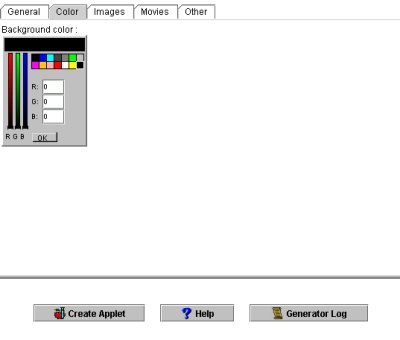
Let the background color remain black. Now click on the "Images" tab. You will see the following picture:
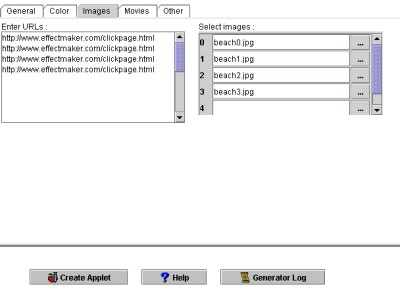
Here you can select the images that will be included in the slideshow. Click on the "..." button to select an image from your hard drive. The images you select in the file dialog will automatically be copied into your working folder. It's important that you put an equal number of images as you have URL:s (see more information about entering text and files in the section Entering Text Or Files). These URL:s will be invoked when someone clicks on the image at that line position. Click here if you need to know how to use the file field. Then press on the "Other" tab. You will see this:
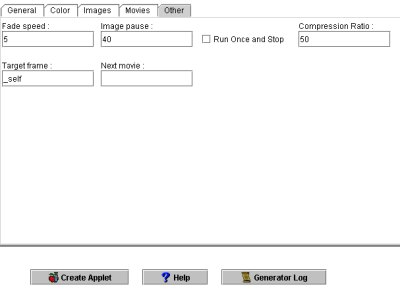
You don't really need to change anything here, but you should know that these are settings for changing fading speed, the pause between each emerging image, the compression ratio, target frame and more. The target frame setting exist in all effects that use URLs and it is used to specify the target frame if you are using frames in your web page.
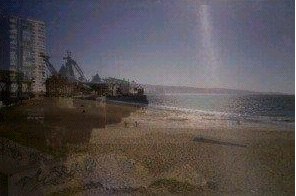
You are almost finished! Just press the "Create Applet" button. A new window will open up with your Flash applet:
Now, to continue with adding the applet to your web page, you can read about it in the section What to do with the created file.
If you want to know more about ImageFader, then read the manual for it by clicking here.